Data Export
The data you enter into Stipa are stored in an IndexedDB database located on your device. That is why you can continue to use Stipa even when internet and cellular service are not available. The data you enter are never copied to a remote server or any other location outside of your control. When the time comes to retrieve your data for analysis and storage, simply export the data as a tab-delimited text file. The file contents will always be organized in a straightforward and consistent way, which makes it easy to prepare the data for analysis or ingest the data into a more permanent database solution.
To export project data, open Stipa to the Collect page and navigate to the project of interest (Figure 1). Refer to the Adding a Data Collection Project reference for more information about navigating among projects. Click on the Export button of the target project to begin exporting data.
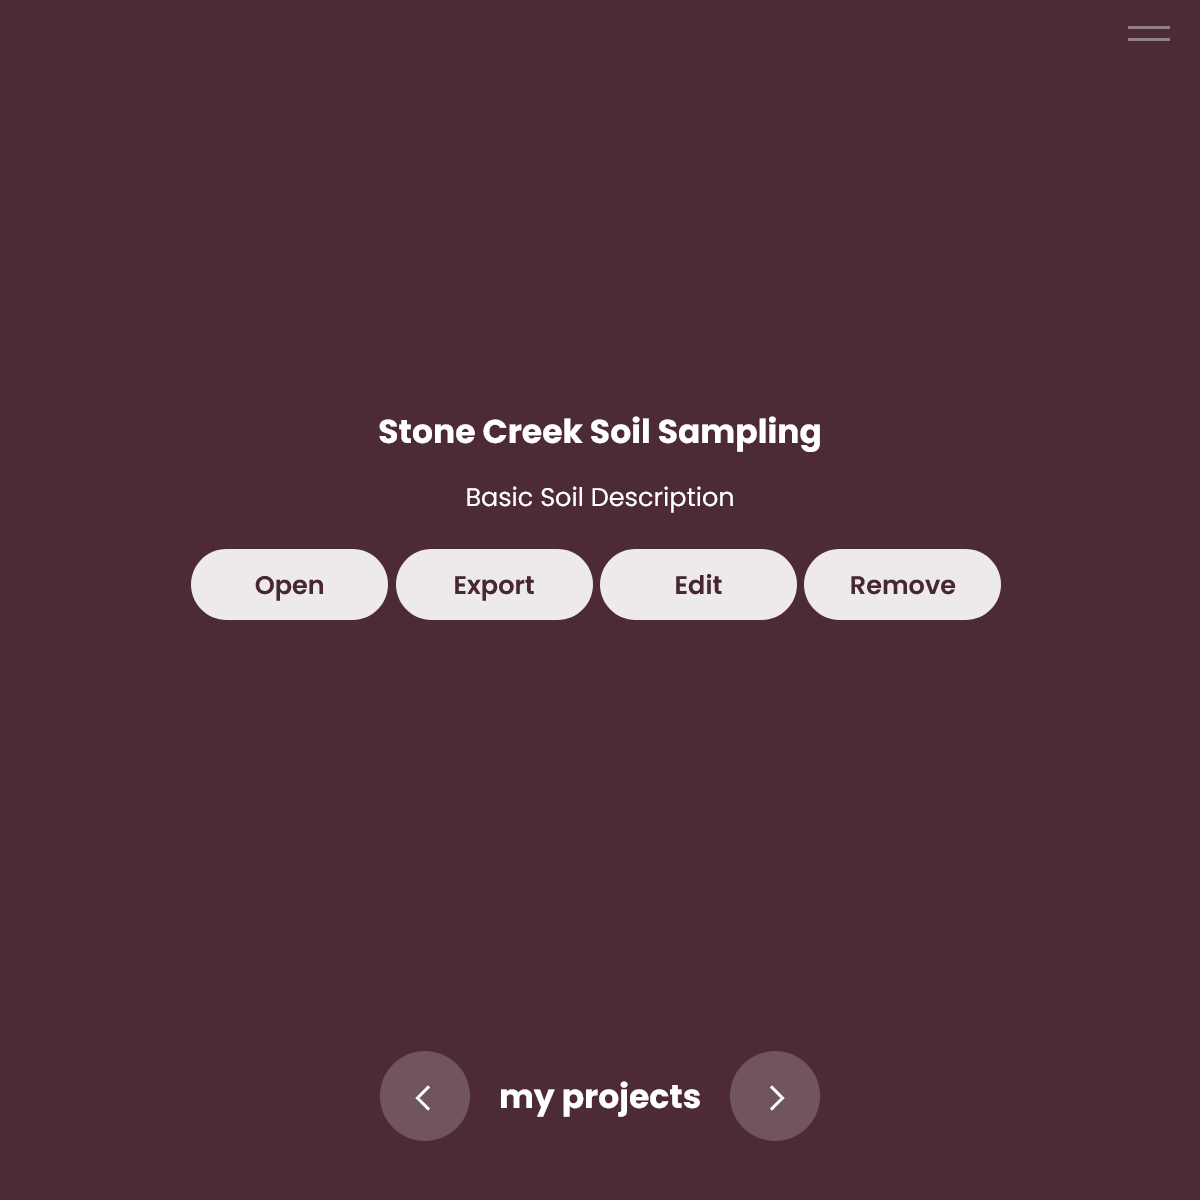
Figure 1. Project list item and management buttons.
The first seven lines of the exported file contain metadata (Figure 2). Here you will find the project ID and name; the protocol ID, name, and version; and the export date.
Below the metadata are the rows that contain your data. If you have reviewed the Data Entry and Stipa Data Collection Protocol references, you will recall that all data entered into Stipa will be associated with a particular subject, form, attribute, and (in some cases) one or more observation.
Column one of the exported data contains the subject identifier, column two contains the subject name, column three contains the form identifier, column four contains the observation identifier(s), column five contains the attribute identifier, column six contains the attribute order, column seven contains the attribute value(s), and column eight contains the date and time the record was last updated. Columns will be organized in this fashion no matter which Stipa Data Collection Protocol was used.
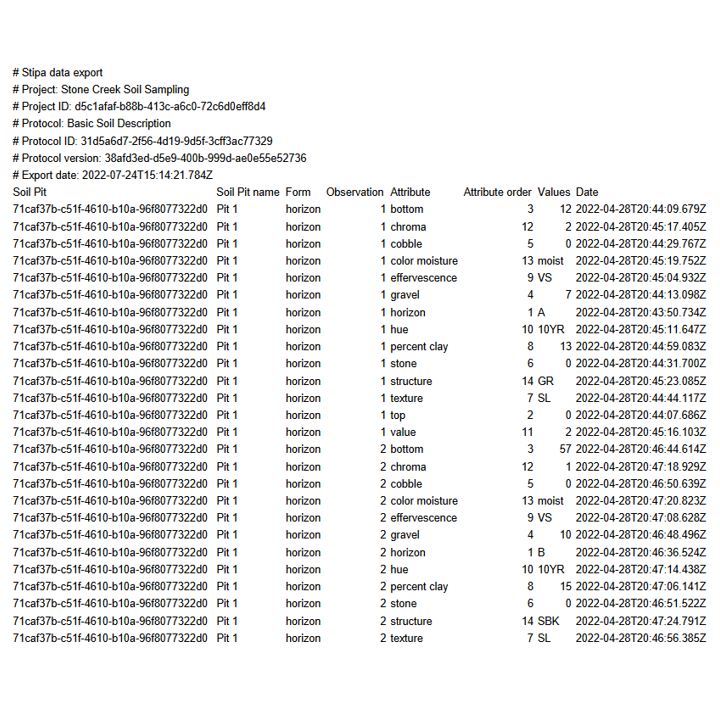
Figure 2. Exported data.
Please note that only the names of photos captured with Stipa are exported with the text file; the photos themselves must be manually downloaded to your device. This is done by navigating to the relevant photo control as described in the Data Entry reference and clicking on the download button in the upper right corner of the control (Figure 3).
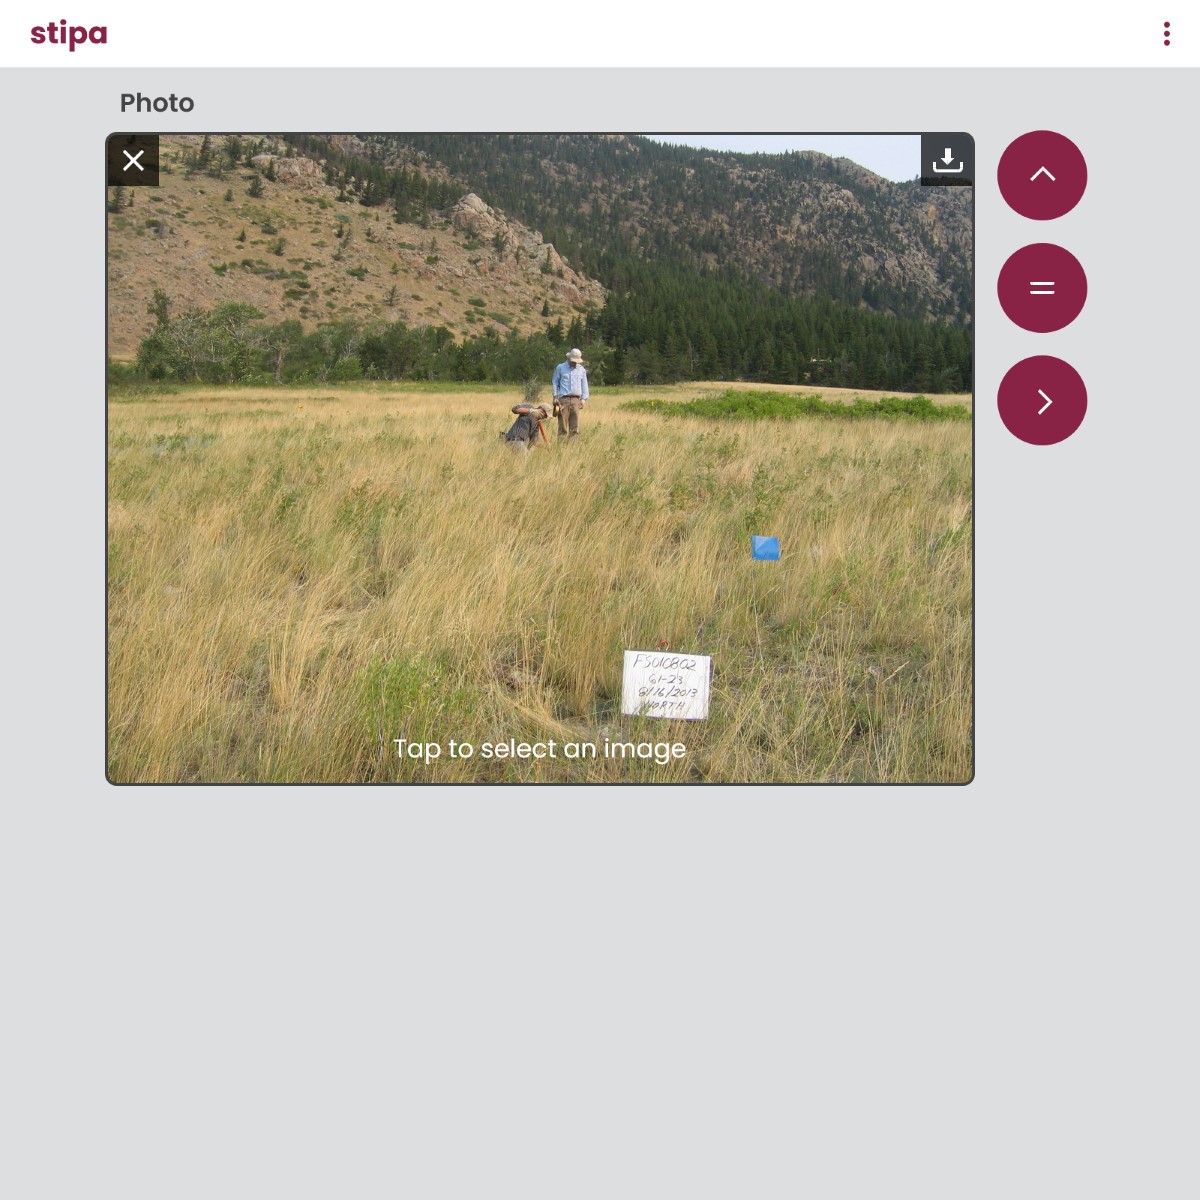
Figure 3. Downloading a photo.
Some protocols require that users choose from multiple sets of observations before entering a measured or observed value. In the line-point intercept method of vegetation sampling, for example, field crews record plant and ground cover characteristics at multple points along a line transect. In many cases, the process is repeated with two or more transects at the same study site. As a result, crews need to specify both the line and point they are measuring before they can enter a value.
In situations like this, column four of the exported data will contain all observations associated with the entry, and these observations will be separated by pipes (|). In Figure 4, for example, the first number in the observation column identifies the transect and the second number identifies the point.
Pipes are also used to separate attribute values in those instances where more than one category can be selected for a single attribute. An example of this is in the fourth data row of Figure 4. Here, the top layer attribute has been assigned both a plant species symbol and a category indicating that the plant is no longer alive.
For those attributes that do not require that an observation be specified, column four of the exported data will contain NA.
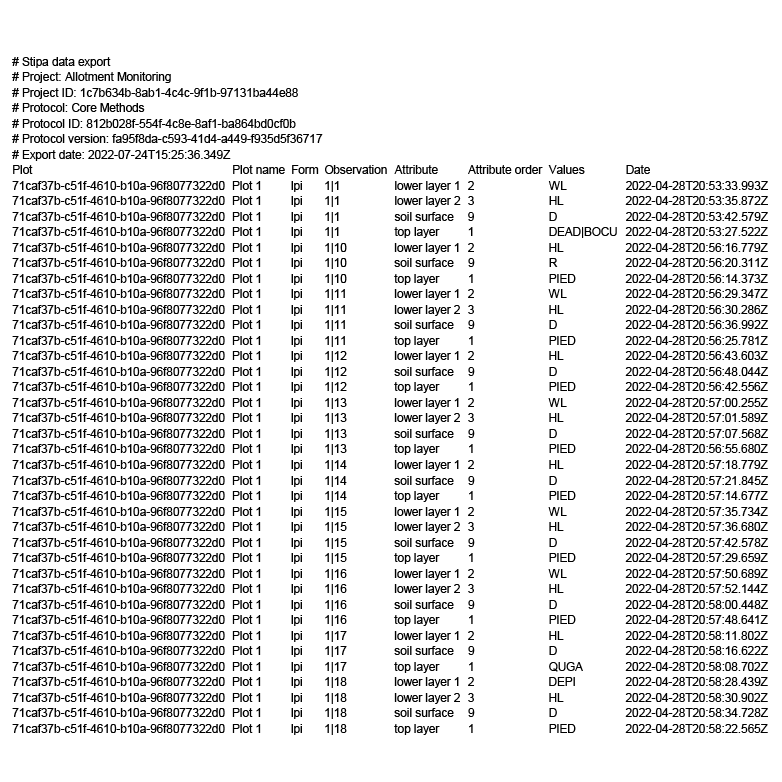
Figure 4. Exported data with values associated with multiple observations.
If you would like to include form, observation, and attribute names in exported data, be sure to toggle the Export Data Labels setting to "on" as described in the Data Entry Settings reference (Figure 5). By default, only the identifiers of forms, observations, and attributes are included.
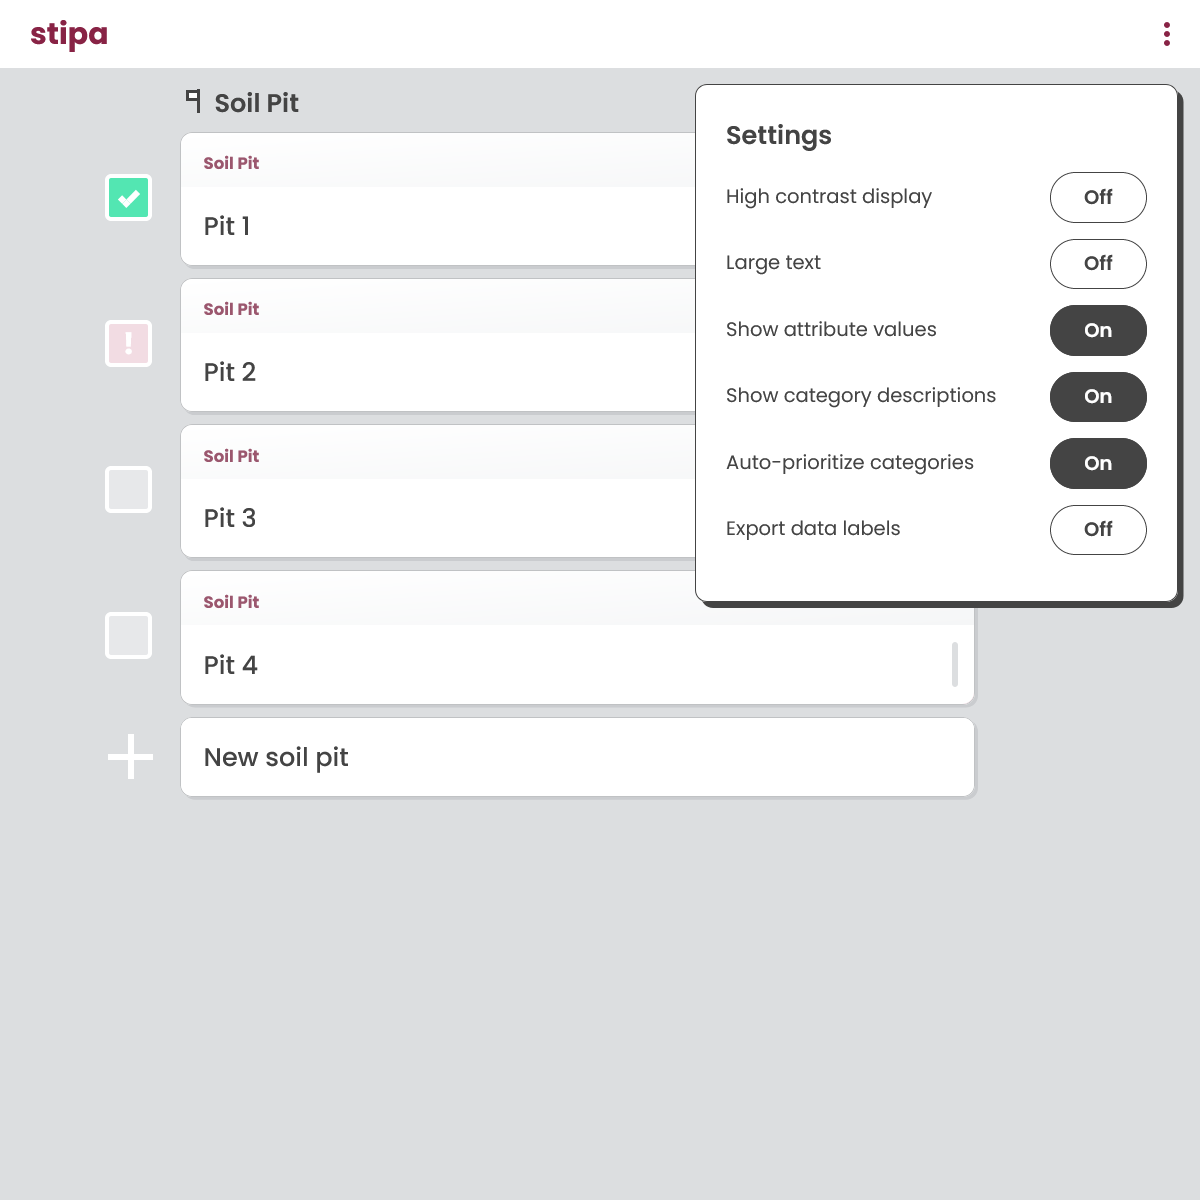
Figure 5. Data entry settings menu.
Click here to export all raw Stipa data currently on your device.
Up next: Stipa Data Collection Protocol →