Data Entry
Once you have added one or more data collection project to your device, you are ready to start entering data.
Begin by opening Stipa to the Collect page (Figure 1). This is the first page you will see if you have opened the application from your home screen or desktop. Otherwise, you may need to navigate to this page using the page menu located in the upper right corner of the page you are currently on.
Figure 1. Collect page.
Swipe left anywhere on the page until you locate your project of interest (Figure 2). If not using a touch device, scroll right using buttons located at the bottom of the view. Click on the Open button to open the project for data entry.
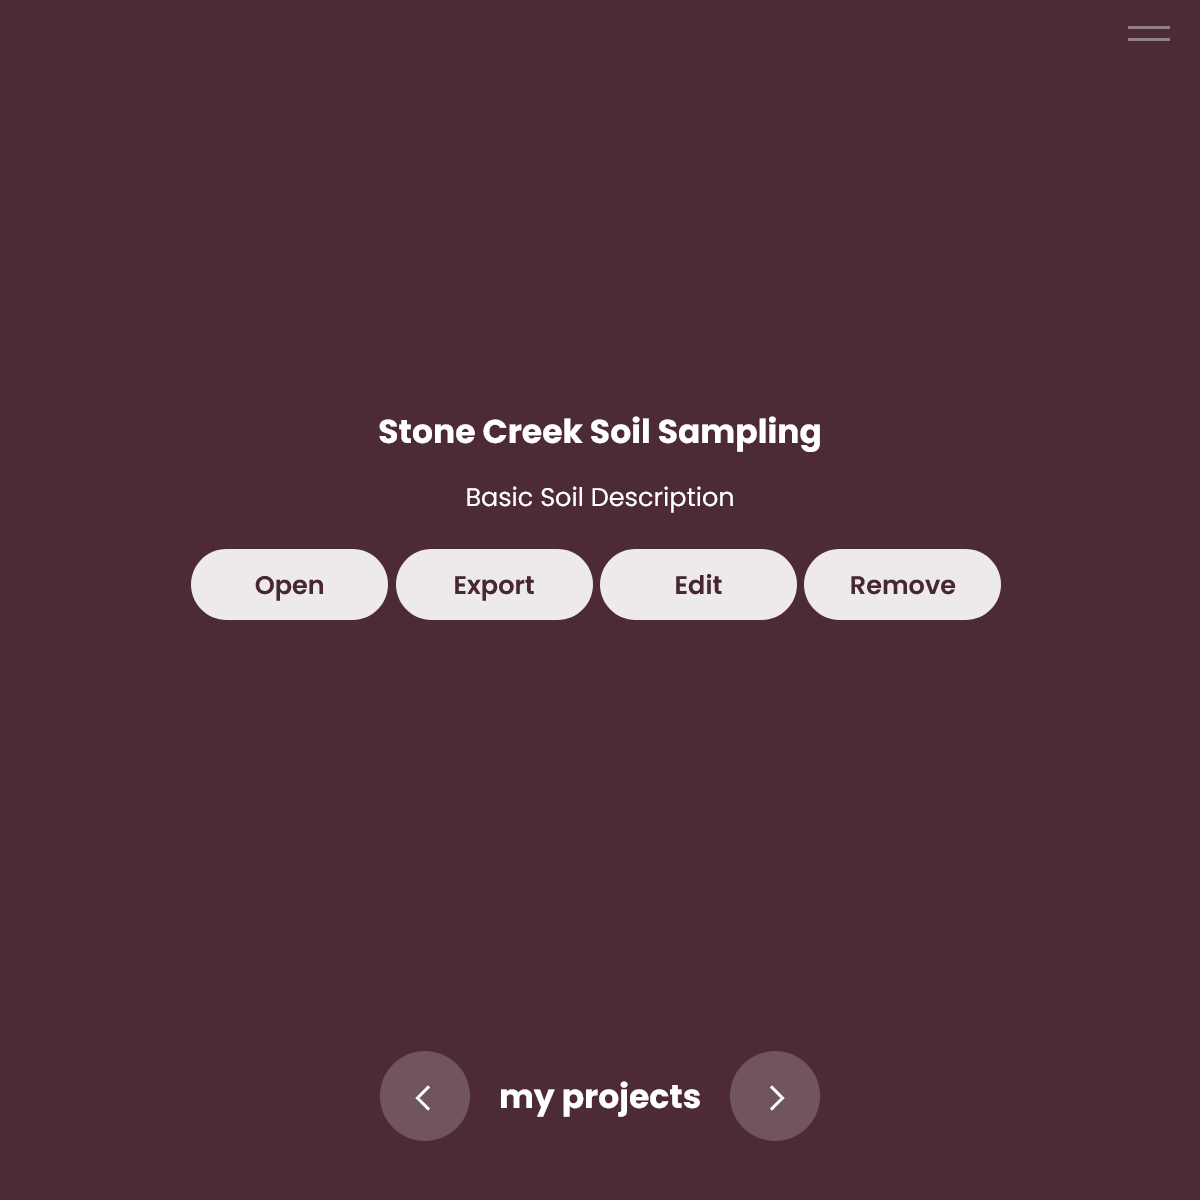
Figure 2. Project list item and management buttons.
Data collection involves making a measurement or observation of a particular attribute of a particular subject. In addition, Stipa allows related attributes to be grouped into distinct forms. Stipa also allows forms to be completed multiple times for the same subject, as might be the case if a subject is sampled repeatedly over time or subsampling is required to effectively or efficiently describe a subject. These replicate form entries are referred to as observations. Forms, attributes, and observations are all defined in the Stipa Data Collection Protocol associated with the project.
Before we can enter a measured or observed value, therefore, we need to select what subject, form, attribute, and (in some cases) observation the value is going to be associated with. In Stipa, such selections are made in an iterative, drill-down fashion.
First, Stipa displays a list of subjects to choose from (Figure 3). Once you've selected a subject, Stipa displays a list of forms to choose from. Once you've selected a form, Stipa displays a list of attributes to choose from. Once you've selected an attribute, Stipa displays the appropriate data entry control. Which control is displayed depends on the data type of the attribute you've selected. The control may be a text box, choice list, or some more sophisticated widget. See the Data and Control Types reference for more information about data and control types. The value entered is immediately saved to an IndexedDB database on your device.
If one or more observation set has been specified for the selected form, there will be intermediate steps between form selection and attribute selection, where you will choose the observation(s) you wish to enter data for.
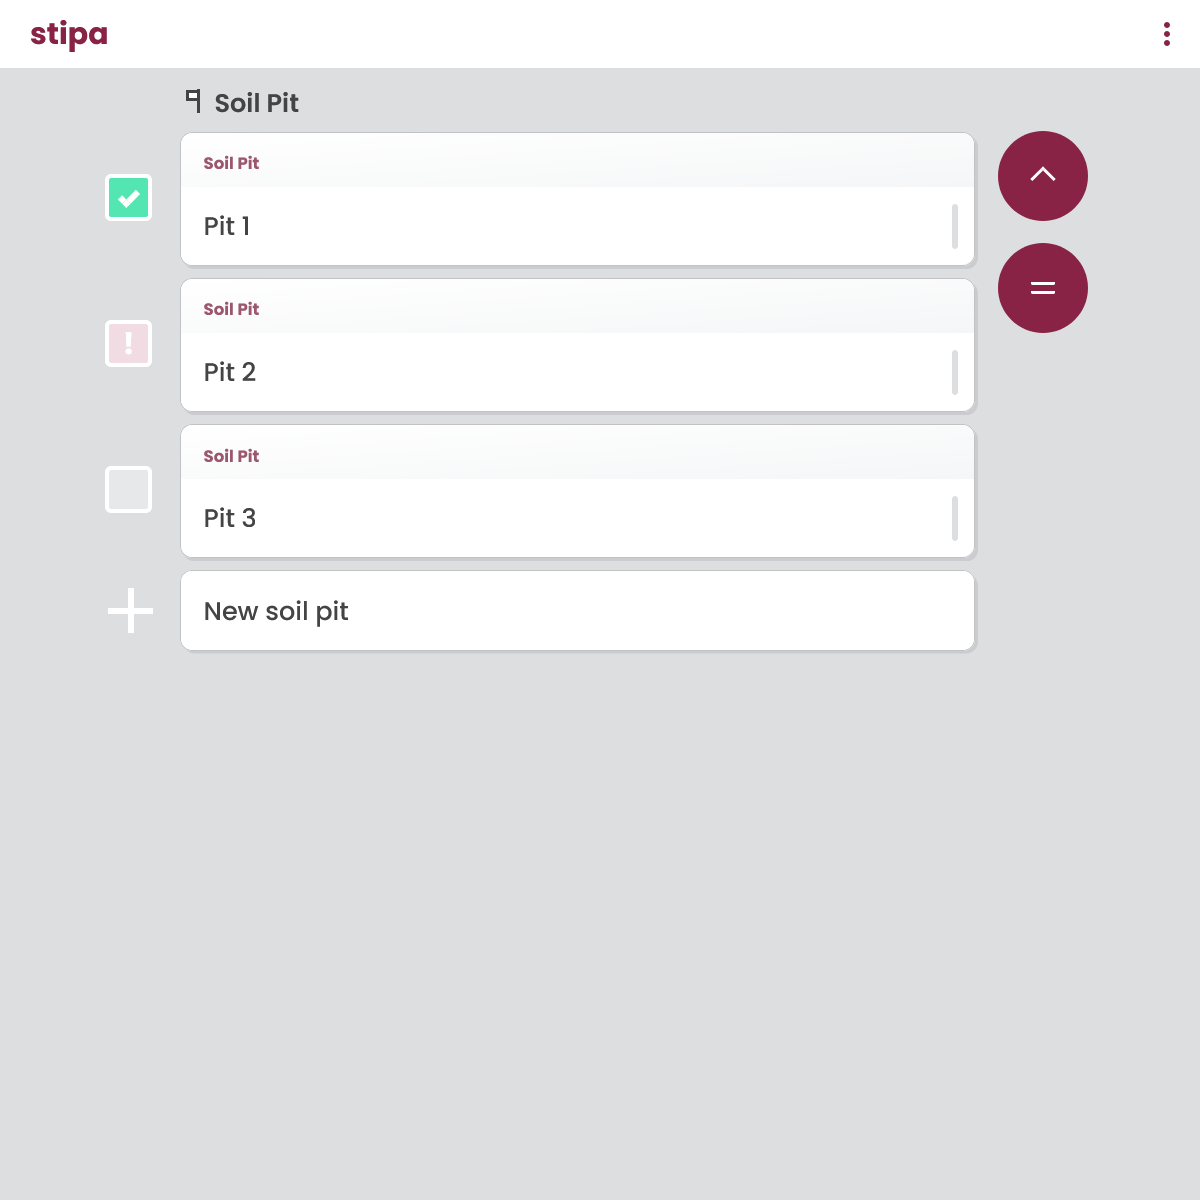
Figure 3. Data entry view.
If at any point you wish to return to a previous step, simply click on the Up button located near the upper right corner of the view. You can also click on the Navigation Menu button, located just below the Up button, to view your current sequence of selections and return to any point in that sequence (Figure 4).

Figure 4. Navigating menu.
To add a new subject to the project, simply click on the Add Subject button at the bottom of the list and give the subject a name (Figure 5). You can also load one or more subject from a text file containing a list of subject names, where each name is on a separate line. To do this, click on the folder icon located in the upper right corner of the name control and use your web browser's file chooser to select the desired file.
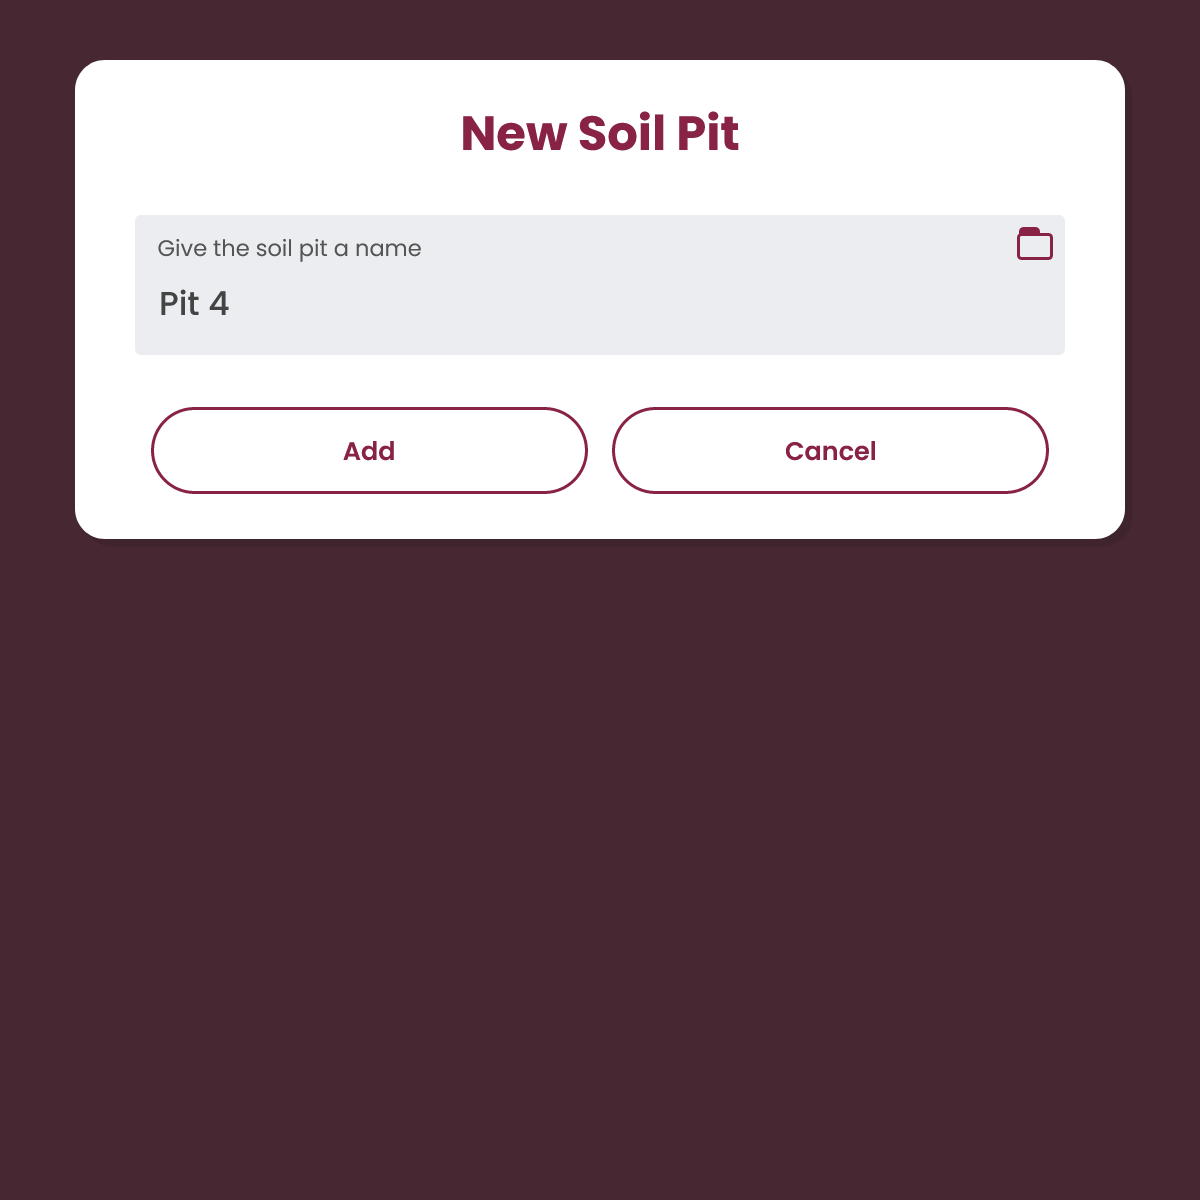
Figure 5. New subject dialog.
Delete a subject or edit a subject's name by swiping left on the list item and clicking on the appropriate button (Figure 6). If not using a touch device, click on the Handle button located on the far right side of the list item to reveal its Delete and Edit buttons. Swiping left on other list items (forms, observations, attributes, and categories) will reveal a Details button that can be used to view the item description, if specified in the associated Stipa Data Collection Protocol.
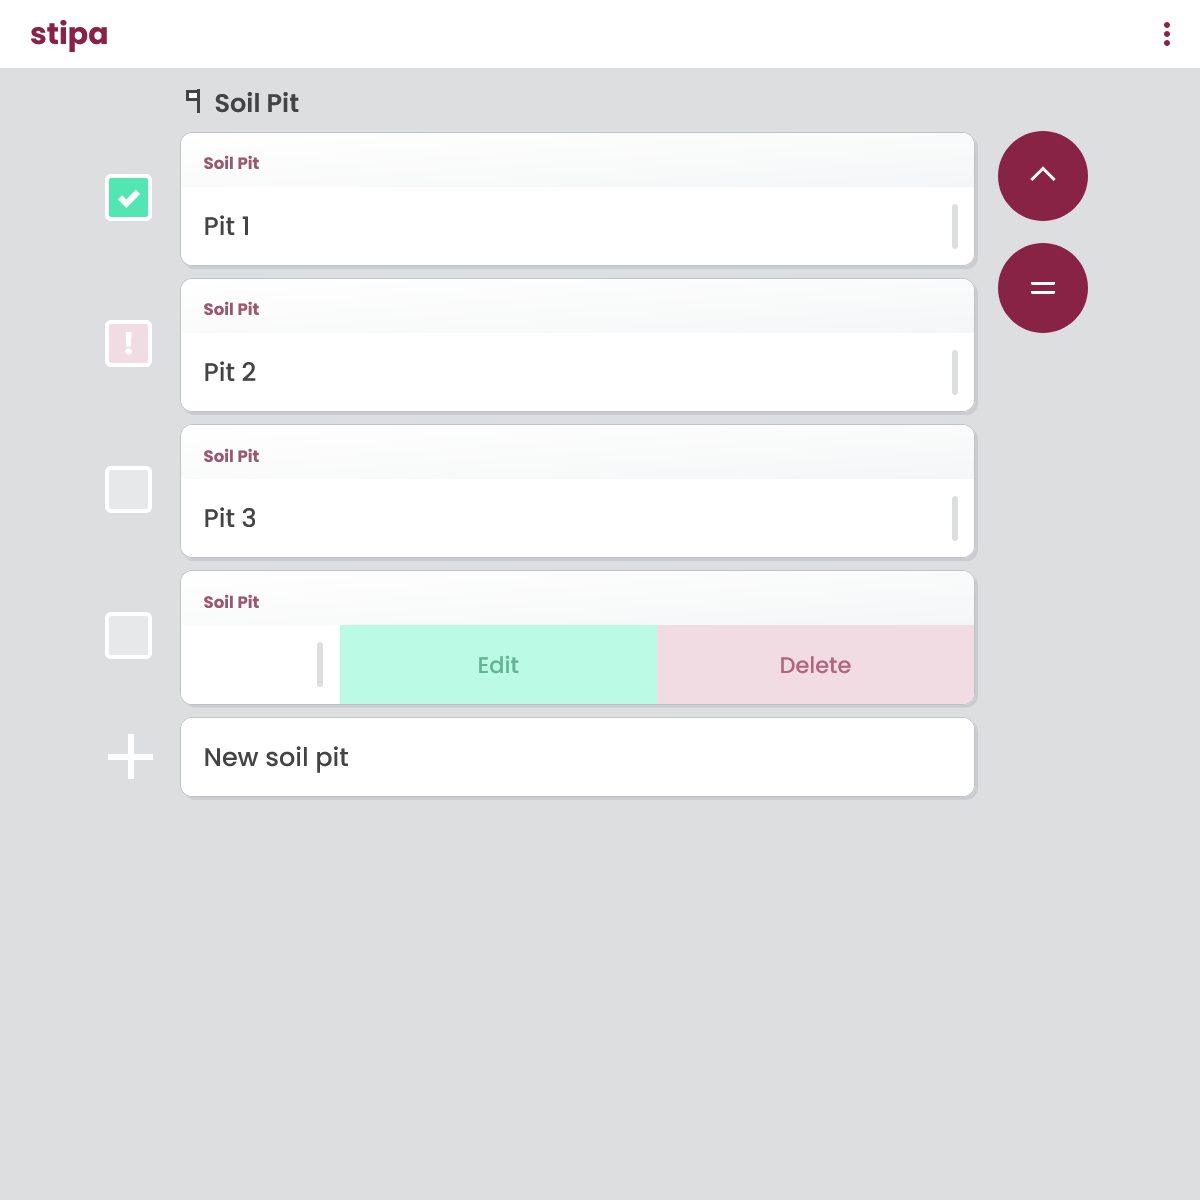
Figure 6. Hidden navigation list item buttons.
You may have noticed the checkbox in front of each item in the subject, form, observation, and attribute lists (Figure 7). A checkbox will be green if all required data has been entered for the associated item and pink if data still needs to be entered.