Adding a Data Collection Project
Before you can enter data into Stipa, you first need to create a data collection project. The project serves as a conceptual container for your data collection activities. It helps to keep track of which subjects are being observed and/or measured. It helps to ensure that data collection rules and strategies are consistently applied. And it helps to streamline the transfer of data from Stipa to other, more permanent data management solutions.
To add a new data collection project to your device, open Stipa to the Collect page (Figure 1). This is the first page you will see if you have opened the application from your home screen or desktop. Otherwise, you may need to navigate to this page using the page menu located in the upper right corner of the page you are currently on.
The Collect page provides access to all of the projects currently loaded on your device. Swipe left or right anywhere on the page to navigated among projects. If not using a touch device, navigate forward and backward using buttons located at the bottom of the view.
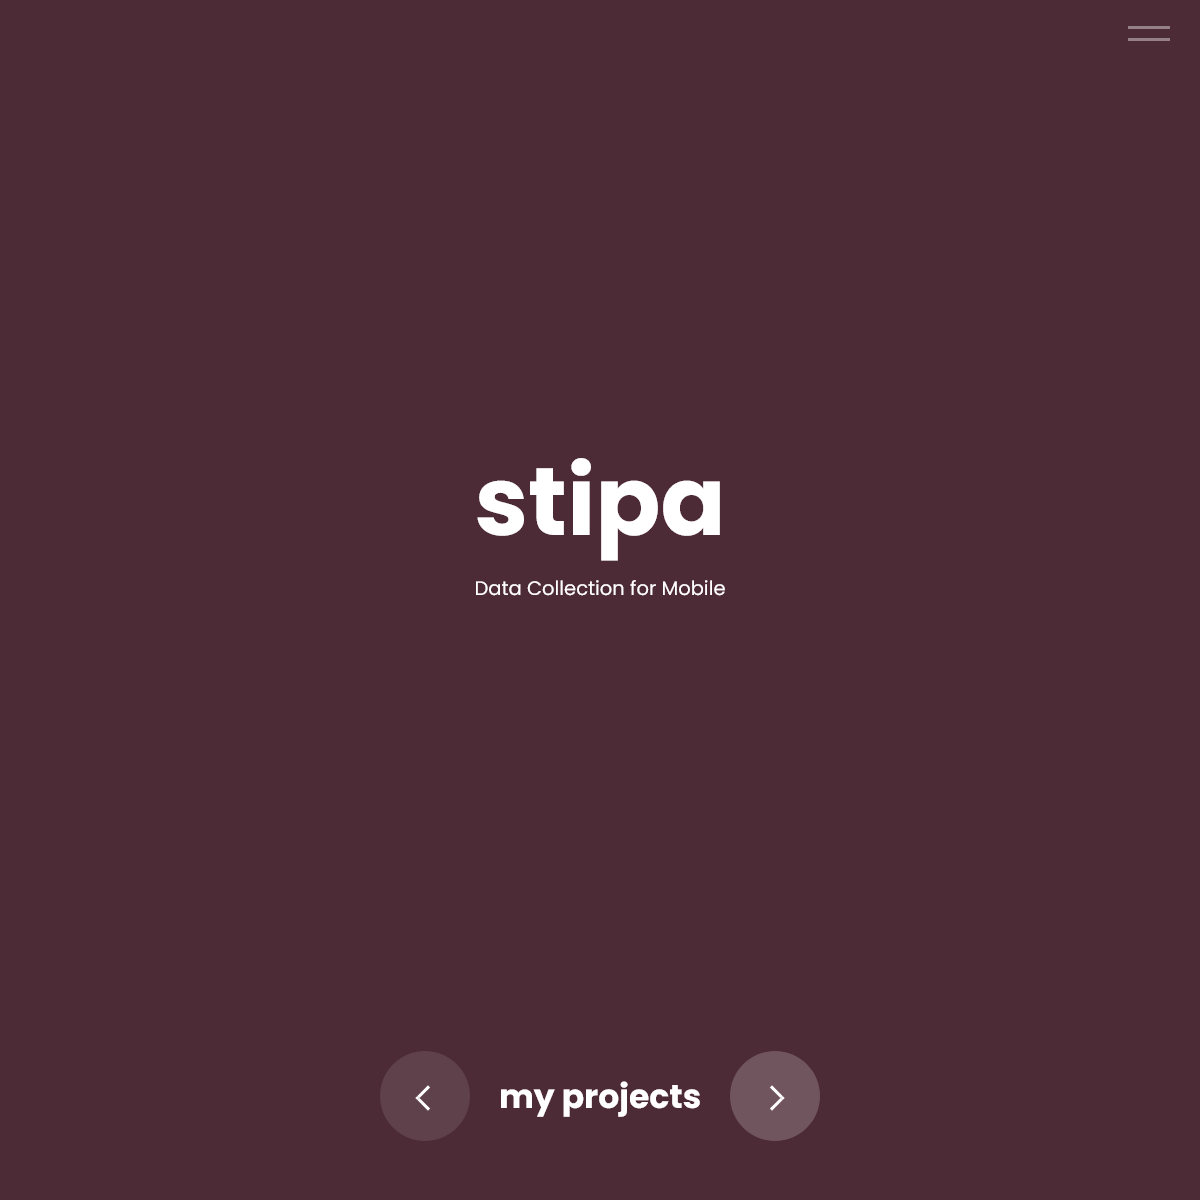
Figure 1. Collect page.
At the end of the project list, you will find the Add a Project button (Figure 2). Click on this button to open a dialog for adding the new project.
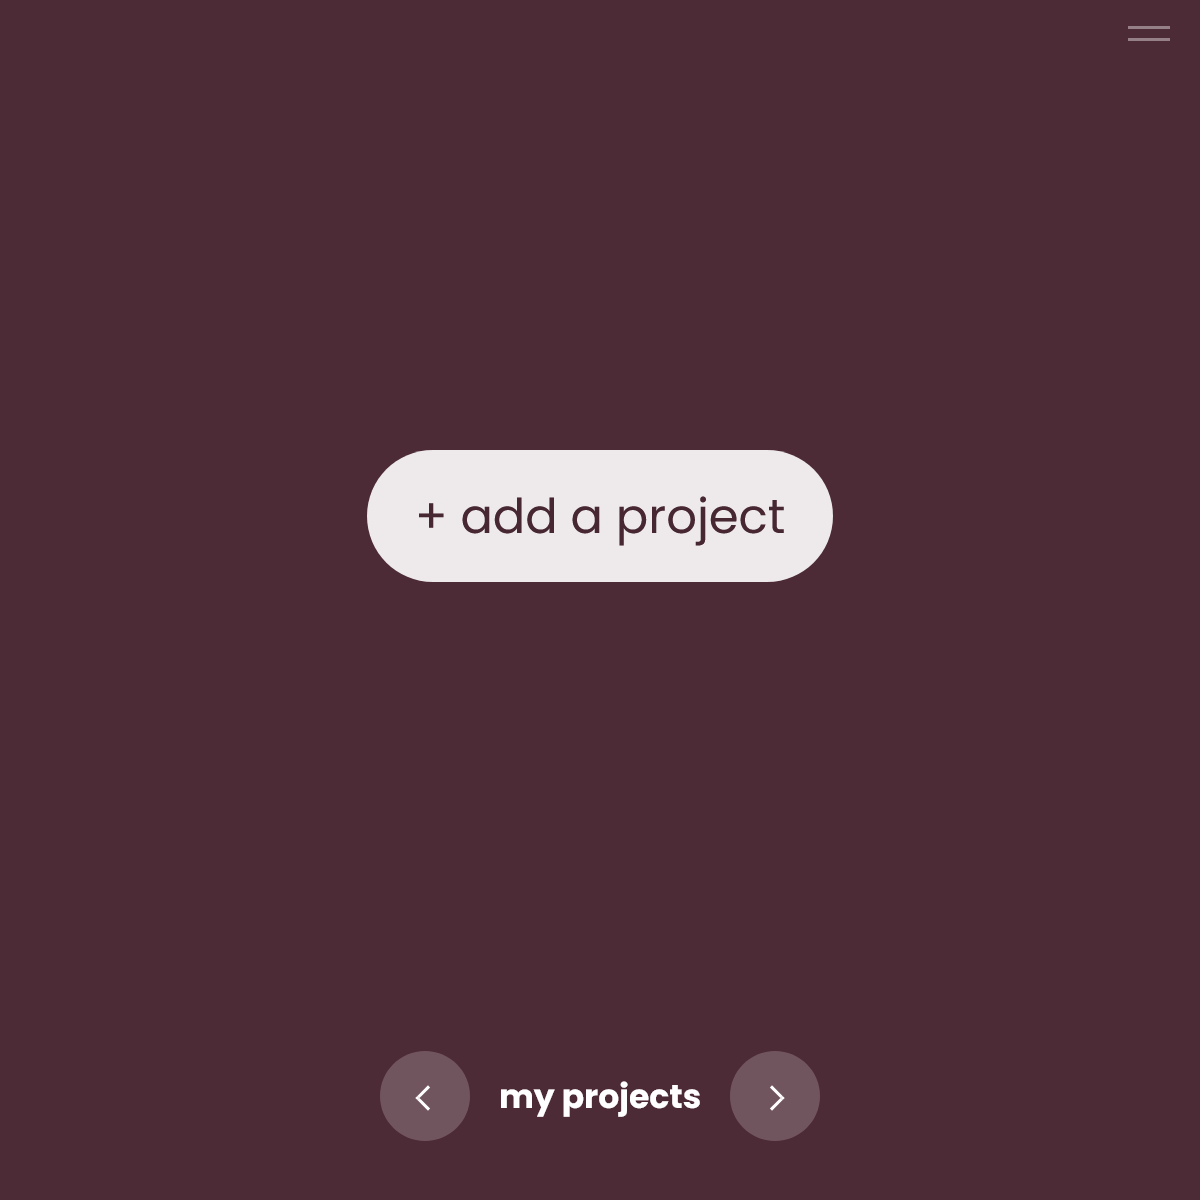
Figure 2. Add a project button.
Three things are required before a new project can be created: a name, a Stipa Data Collection Protocol, and a four-digit code (Figure 3).
A Stipa Data Collection Protocol is an XML document used to specify what information will be gathered during your data collection effort. It is possible that the protocol you will be using has already been created and made available within your organization. If you would like to create a protocol from scratch, the Stipa Data Collection Protocol reference provides a thorough description of the required and optional elements of this document. You may also wish to review the Managing Stipa Data Collection Protocols in My Workspace reference to learn how to build, upload, and manage protocols using point-and-click features of the Workspace page.
All protocols you have already added to your workspace will be available in the Choose a Protocol drop-down menu of the New Project dialog. You can also select a protocol by accessing an XML or plain text file stored on your device. To do this, click on the Folder icon located in the upper right corner of the control and select the desired protocol using your browser's file chooser.
The four-digit code is intended to help avoid accidental deletion of data. You will need to provide the code any time you wish to delete a subject, observation, or the project itself. Don't worry if you forget the security code later on; you can easily specify a new one as described later in this reference.
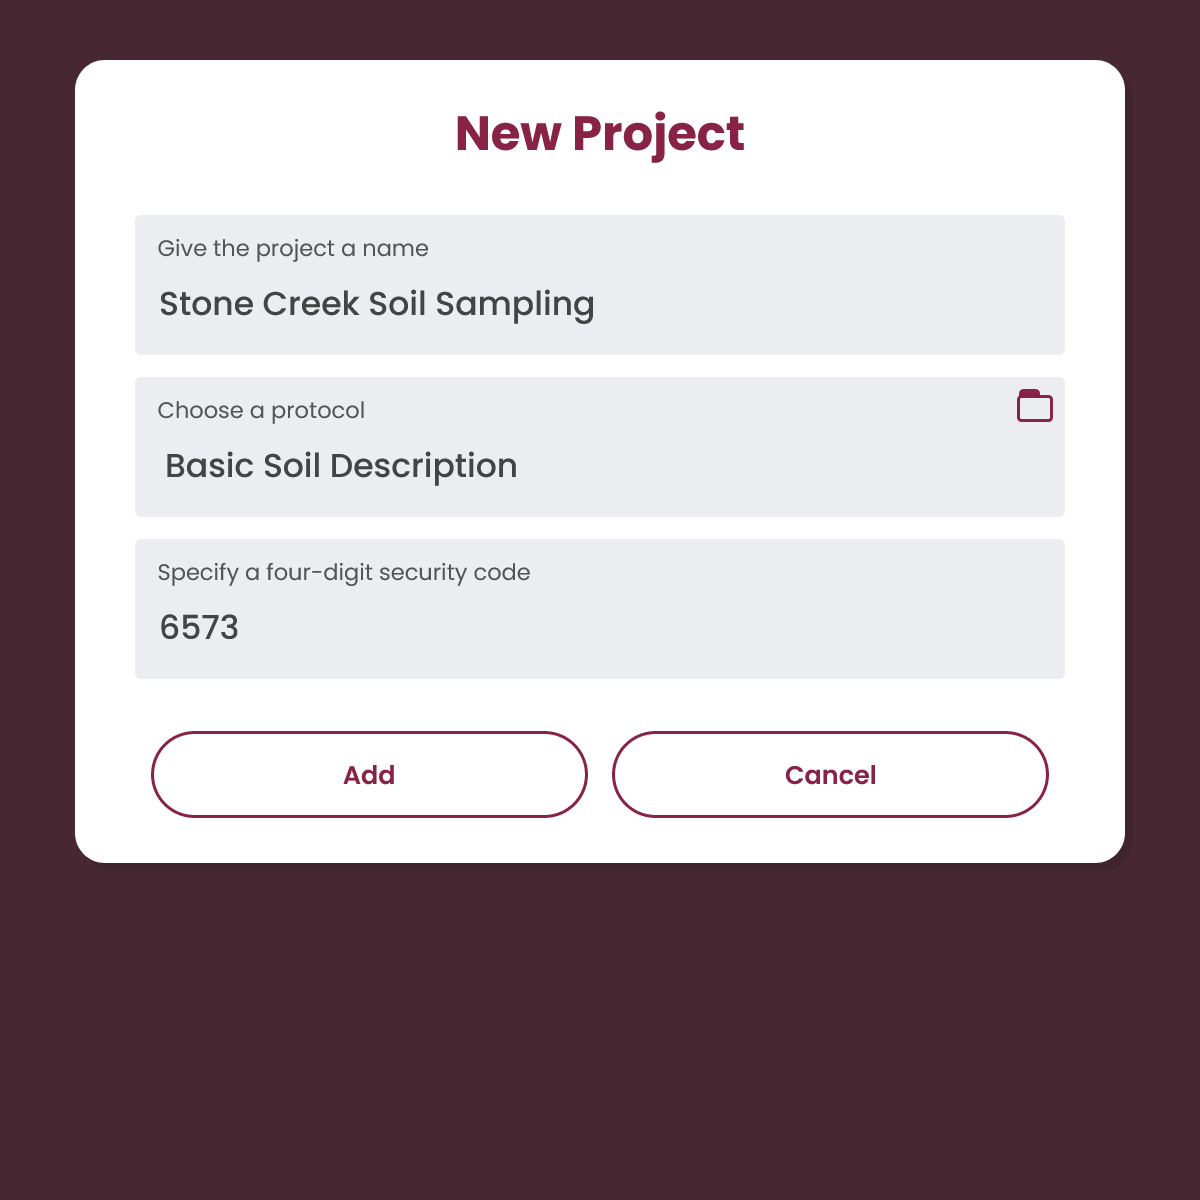
Figure 3. New project dialog.
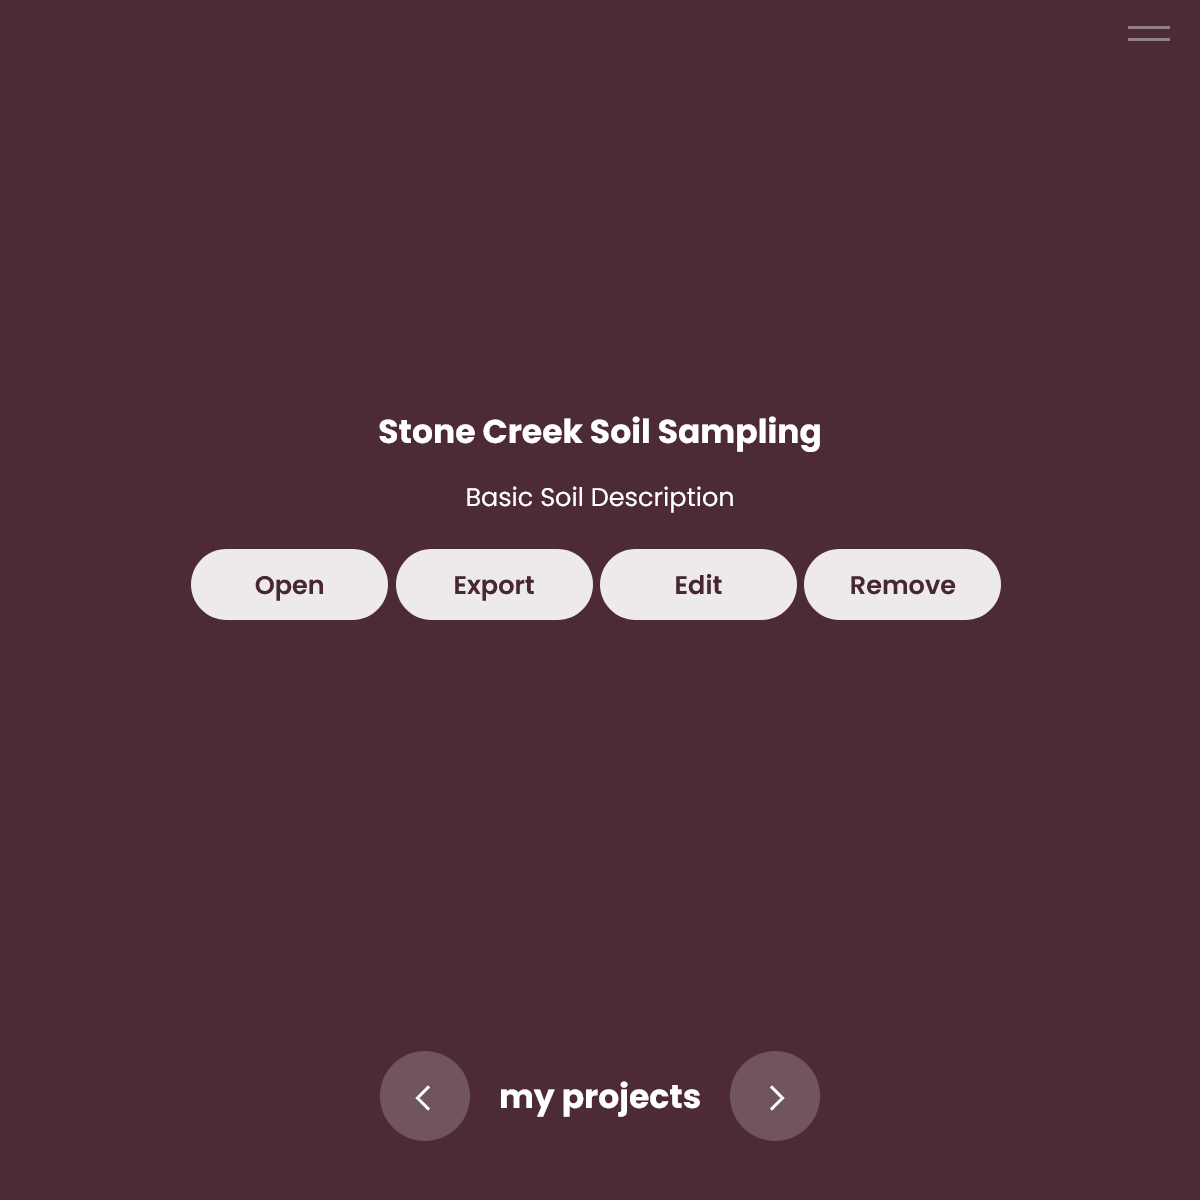
Once created, the project will be added to the list of other projects displayed on your Collect page (Figure 4). You will notice four options for managing the project. The Open button is used to open the project for data entry. The Export button is used to export project data to a tab-delimited text file. The Edit button is used to change the project name or security code. The Remove button is used to permanently delete the project and all associated data from your device.
At this point any changes to the associated protocol will have no effect on the project. If it is critical that the protocol be changed after a project has been created, a new project must be added to your device and the modified protocol assigned to that project.